Provisioning a Cisco device can be accomplished in three easy steps:
Step 1: Obtain the IP Address
Please, note that at this moment, only the SPA Devices are supported.
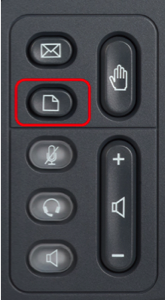
In order to provision a Cisco phone, you will first need to get its IP address in order to access the phone’s web interface. To do so, click on the Menu Icon, which is shown in the photo. Then you will select “Network” which is typically “9.” The IP address should be the second line, for example: “IP: 10.10.9.88”.
Step 1a: Reset Device Settings
Please also make sure that you have reset your device to factory settings. In most cases, you will have to reboot the phone manually the first time and it will then reboot and load the configuration automatically (It might take a few minutes).
To Factory Reset a Cisco device:
Click on the Menu
- 1. Select 14: Factory Reset
- 2. Select OK at the Reset Warning, and the device will commence Factory Reset and Initialization.
Step 2: Enter the IP Address and Login
In your browser now, enter the device’s IP address.
You should see something like this:
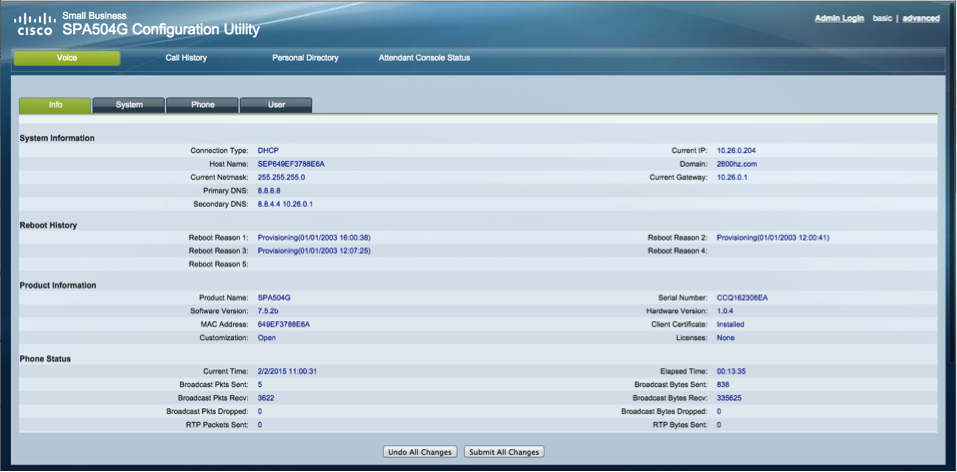
Step 3: Autoprovision Device
First click on “Admin Login” in the top right-hand corner and then “advanced,” which is right next to it.
![]()
Then click on the provisioning menu, which is a tab located at the top of the screen.
Input the “Profile Rule” which is the same as the provisioning url. and set the “Transport Protocol” to “http.”
Lastly, select “Submit All Changes.” The device will reset as it is auto provisioning and the should read below:
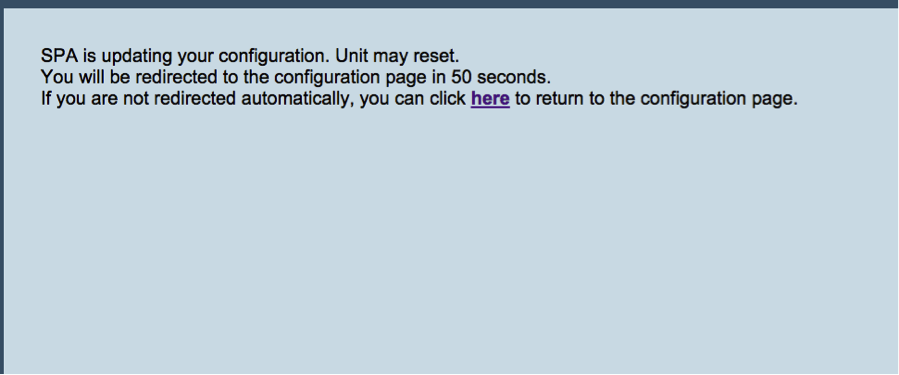
After a minute or two, the device will be auto provisioned.