Provisioning a Yealink device can be accomplished in three easy steps:
Step 1: Obtain Phone’s IP Address
The IP address for a Yealink device can be found on the device itself. In order to provision a Yealink phone, you will first need to get its IP address in order to access the phone’s web interface.
The IP address on Yealink devices can easily be found by pressing the OK button on the phone. You should see a line with, for example: “IP: 10.10.9.88”. Please make sure that your device jack is plugged in. If it is not plugged in, it will read IP: 0.0.0.0.
Step 1a: Reset to Factory Settings
Please also make sure that you have reset your device to factory settings. To do so, select “OK” and hold down for six seconds. The device will ask if you want to reset to factory settings, select ”OK.”
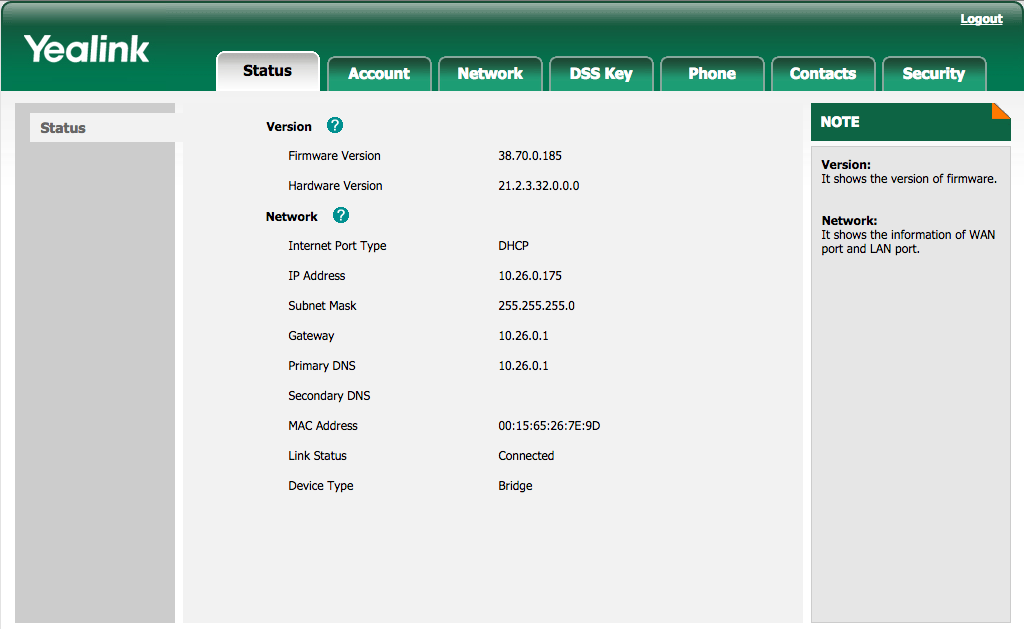
Step 2: Enter the IP Address and Login
In your browser, enter this IP address. When logging in for the first time, the default username is admin and password is admin.
The page should look something like this:
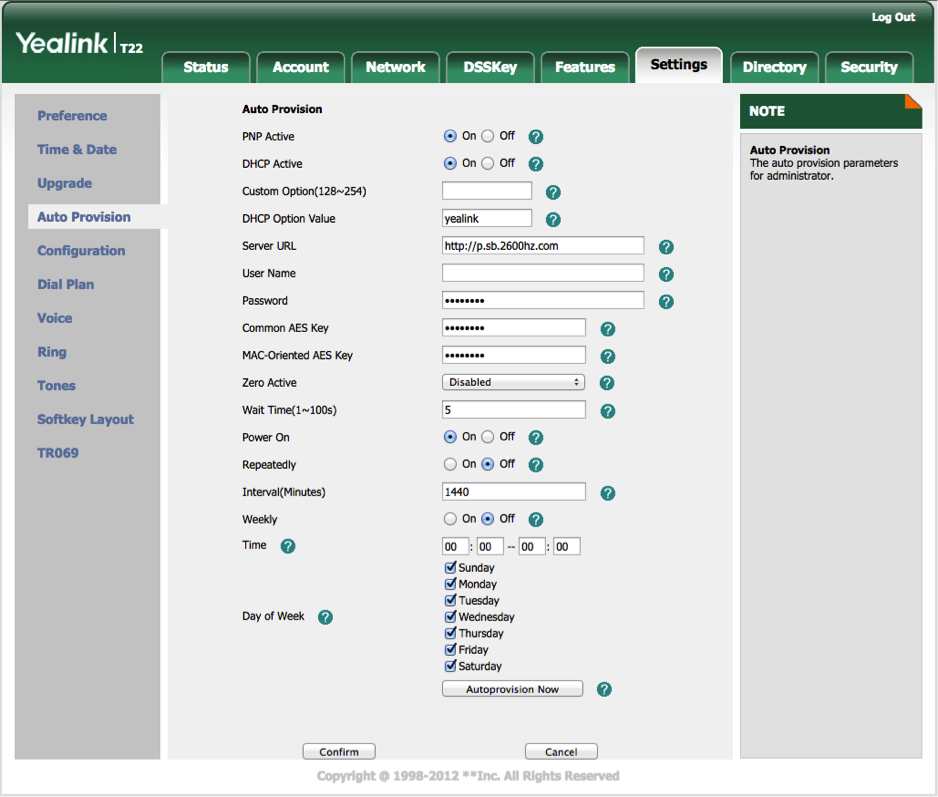
Step 3: Autoprovision Device
Most of the information as you will see has already been pre-populated. You’ll need to click lick on Settings on the top tab, then click on Autoprovision on the left sub-tab. In the “Server URL,” input the provisioning url. Please remember to enter in “http://” beforehand!). Click “Confirm” on the bottom of the page, then “Autoprovision Now”. This may take up to a few minutes, but if done correctly, you’ll notice your device reboot as it is provisioning. You are now all set up. In the end, your page should look like this: