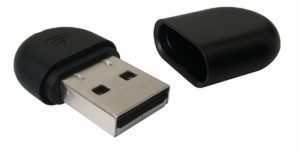
 Wi-Fi USB Dongle WF40 is used to connect IP phones to the organization’s wireless network. Wi-Fi USB dongle is a cost-effective solution for small office wireless networking, which allows you to experience the convenience of wireless networking.
Supported Yealink IP Phones
The WF40 Wifi USB Dongle is supported by the following Devices:
- SIP-T27G
- SIP-T29G
- SIP-T46G
- SIP-T48G
- SIP-T41S
- SIP-T42S
- SIP-T46S
- SIP-T48S
- SIP-T52S
- SIP-T54S
For T48G: upgrade to the version of 35.80.0.95 or higher
For T29G/T46G/T46S/T48S: upgrade to the version 81 or higher
For T27G/T41S/T42S: upgrade to the version of x.81.0.110 or higher
Firmware Details
For T48G: upgrade to the version of 35.80.0.95 or higher
For T29G/T46G/T46S/T48S: upgrade to the version 81 or higher
For T27G/T41S/T42S: upgrade to the version of x.81.0.110 or higher
Installing the Wifi Dongle

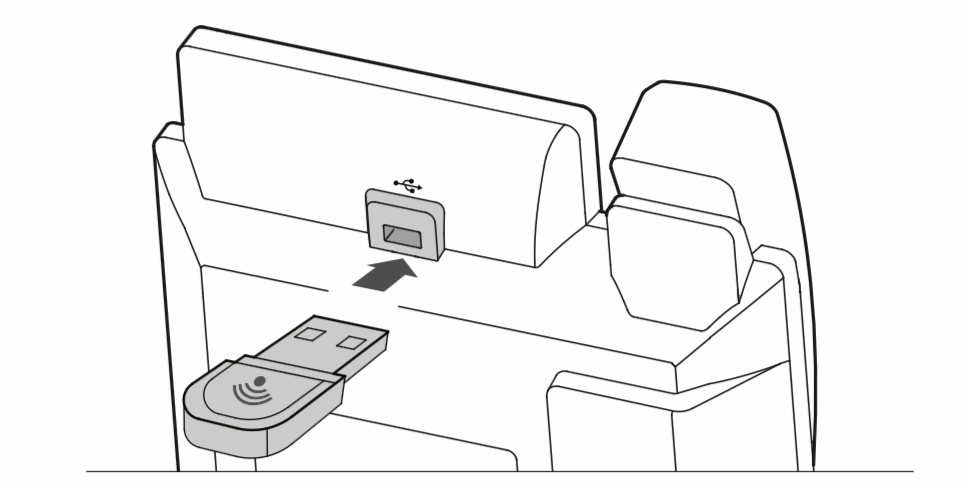
With the IP Phone Powered off, Insert the Wi-Fi USB Dongle into the USB port on the back of the phone. Once completed, power the phone up and follow the configuration steps below.
Configuring your IP Phone
In general the steps to configure the IP Phone to work with the Wifi Dongle should be basically the same. As a side note, if the device was previous configured to a wired network, we found that it’s best of your factor default the device before you complete the configuration.
MAKE SURE THAT THE IP PHONE IS NOT CONNECTED TO YOUR WIRED NETWORK BEFORE CONTINUING!
After the phone has booted you should get a message that pops up and says “Wifi has been Adapter Added, scanning for Wifi Networks Now.”
1. Tap the OK button to activate WIFI Mode Directly and start scanning of a Network SSD automatically.
If the Wifi network you want to connect to doesn’t come up after the first scan, then you can press the Scan soft key to have the phone search again.
2. Once you have found the Wifi network you would like to connect to, select it. If the network is secured you will be prompted to enter the PIN or password. After you are done Tap the OK.
Once the connection is successfully configured, a prompt stating “Connect Success”.
