From time to time you will be asked for the Call ID for a call dialog. This core bit of information helps Avalo Networks track down issues that may be had with a call leg, and can be used to review SIP signaling details via VQM (VoIP Quality Monitor). To find the call ID follow these simple instructions:
Step 1 – Access Call History
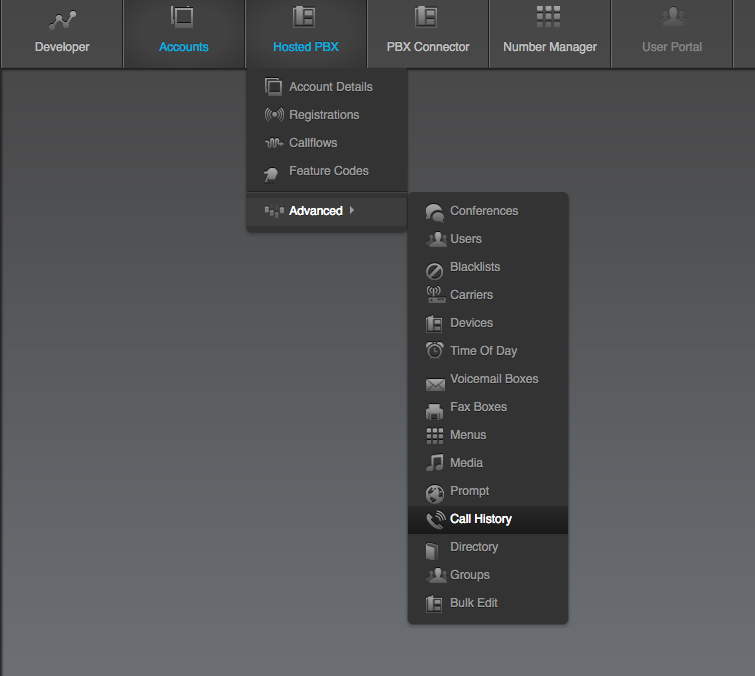
After accessing the account you wish to review in AMP (Avalo Management Portal) you will need to access the Call History log in the Advanced Options of the VoIP Service/Hosted PBX App
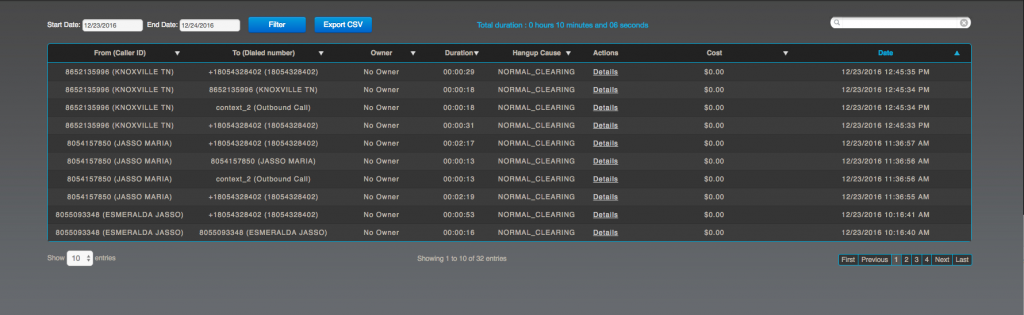
After Completing this step you should get a screen that looks something like this:
Step 2 – Accessing Details
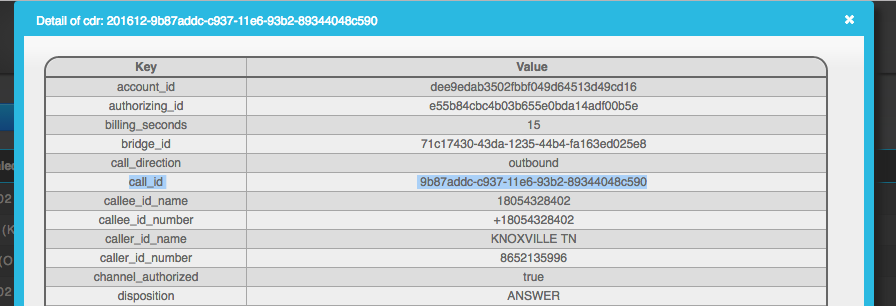
The Call ID is found in the CDR (Call Detail Record) Advanced Details view. This can be accessed by clicking on the Details link for a Call Record you would like to review:

Once you have clicked on the Details link, the Advanced Details view will be displayed, it should look something like this:
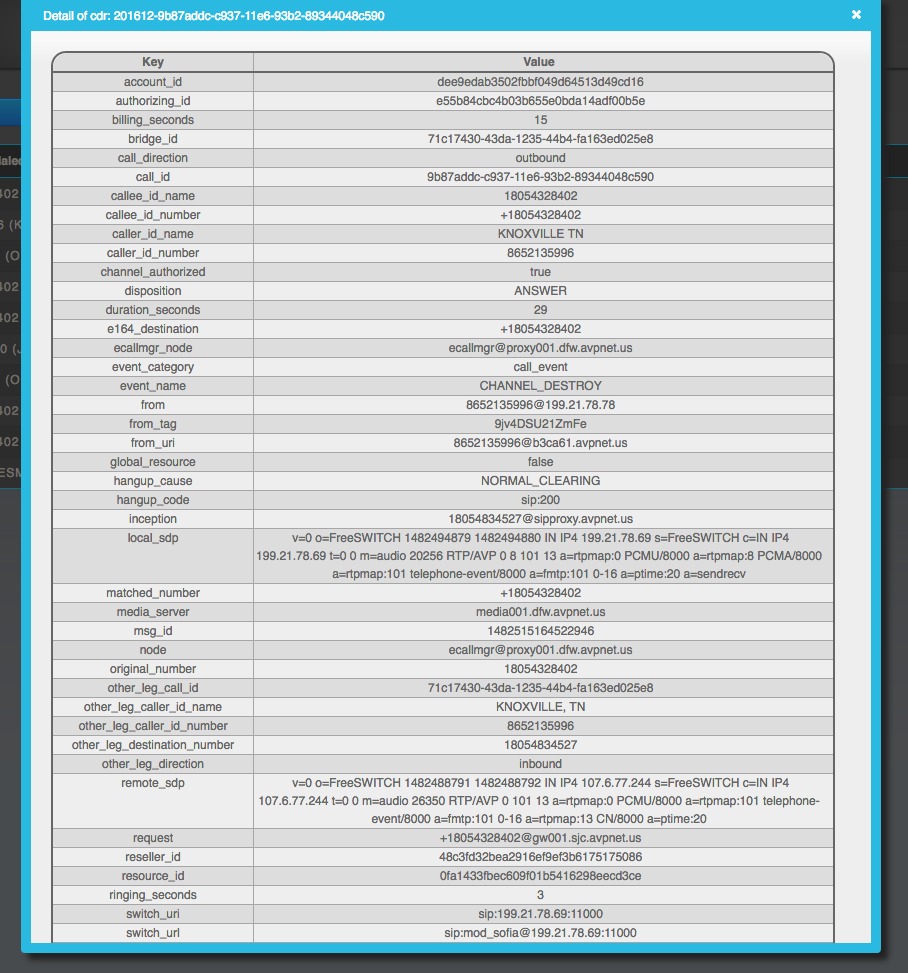
All of the information contained here is related to the processing of this call leg. Generally in a complete call dialog there are two legs, an inbound leg and and outbound leg. You can determine which one this is by looking for a value called “call_direction”.
In the case of the example able, this was the outbound call leg to the PSTN.
Step 3 – Finding the Call ID
How the final step is to find the Call ID in this advanced details view. Generally speaking it’s towards the top of the details, and will be labeled “call_id”.