Building a Standalone voicemail box is very easy in Flex UC, but it does involve interacting with a few of our Apps which will mainly be the SmartPBX App, and the Callflow App.
First you will need to “create” your voicemail box. Now this can be done in the CallFlow App, however there are more features, and it’s much easier to do in the SmartPBX app. So lets start there.
Navigate to the SmartPBX app, if you need instructions on how to do so, review the knowledge base articles found on this help site.
Once you have accessed the SmartPBX app, select the “Voicemail Boxes” option from the Dashboard Left Navigation.
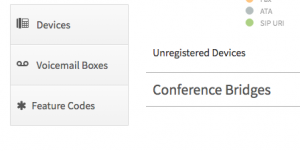 After making this selection you will now be dropped into the Global Voicemail Manager within SmartPBX for this account. From here you will be able to see all of the voicemail boxes for all users on the account. You also have the option of creating a new voicemail box, which is exactly what we want to do.
At the top of the screen, click on the section labeled “Add Voicemail Box”.
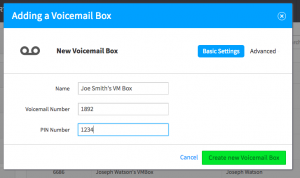
This will take you to the “general voicemail box” creation screen. For the most part these options should be fairly straight forward, however if you need assistance, please refer to your account manager or open a trouble ticket.
Complete the creation of your voicemail box. Make sure to assign it a voicemail number (this is very important).
After creating the voicemail box, you now need to go to the Callflow App. This here is where we are going to create a “standalone” route for the voicemail box.
Note: When doing creating a standalone voicemail box, it will not show-up or be a part of any SmartPBX feature routing, and all management of it will need to be done via the CallFlow App.
Once you have accessed the Callflow App, you will need to select the “BIG BOX” labeled call flows. Ignore all the other options and if you would like more details on the Callflows App, and what it can be done within it, review the documentation in the Apps section.
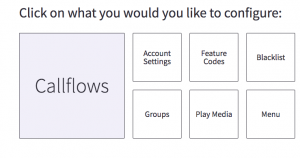 From here we are going to Manually create a route or a “Call Flow” for our voicemail box. This will basically allow us to attach an extension number or a DID/Telephone Number to the voicemail box.
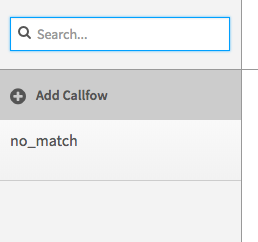
To do so, you will need to click on the section labeled “Add Callflow”
This will take you to the Call Flow Creation screen which looks something like this:
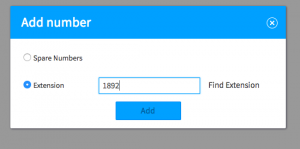
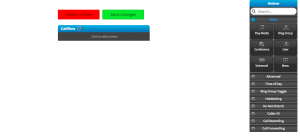 If you have ever used a “Flow Diagraming” tool like Visio, this will be very easy for you. So to setup the routing you will first need to assign a extension or a DID. To do so click on the section labeled “Click to add Number”. After doing so the “Add Number” screen will come up. You will be provided with two options, one will allow you to assign a DID from your spare DID inventory on this account, the other will allow you to assign an extension. For the sake of this article we are going to assign an extension, but you can do both by repeating these steps.
After you have added your extension number. You can now select the “action” you want to add to the callflow. In this case were going to select the “voicemail” action.
From the right hand dock, select the “voicemail” action and drag and drop it on top of the “add Number” section. That will automatically bring up the Voicemail routing options:
From here, select from the drop down the voicemail box you created in SmartPBX. Then it save. When you are done your callflow should look something like this:
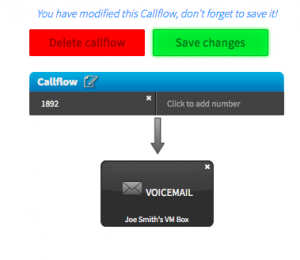 You will notice at the top of the screen, it says “You have modified this Callflow, Don’t forget to save it”, this means you now have to click on “Save changes”. Once you do so this callflow will now be live on the account, and you should be able to dial the extension or DID you assigned to it.


